How to Pick a Backsplash That Works With Your Countertop in Louisville
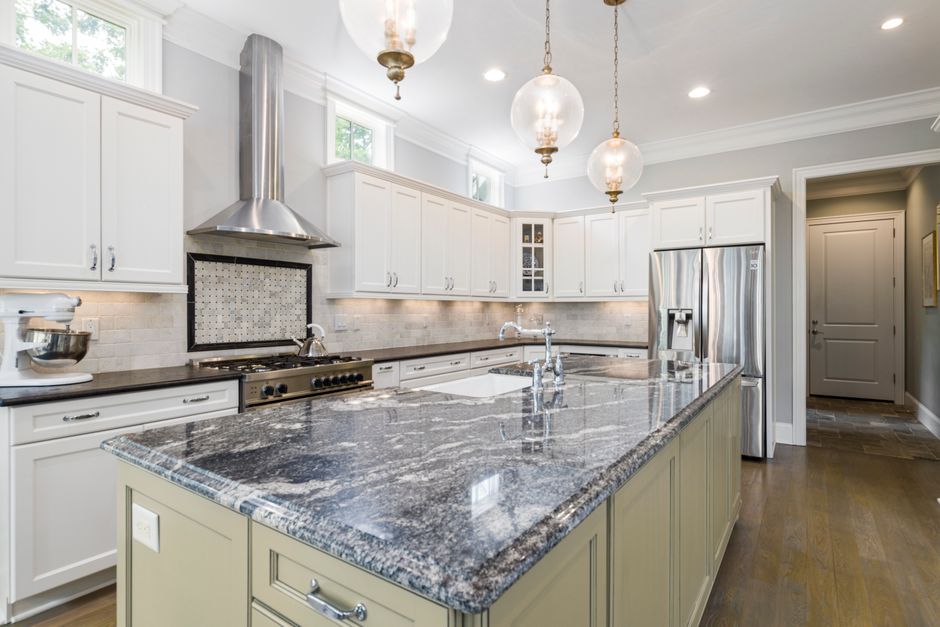
A backsplash works with your countertop when one of them stays quiet, their undertones agree, and the tile runs to a sensible height. Those three checks settle most decisions, and the rest is detail: grout, edges, outlets and the condition of the wall behind it all. In Louisville, where so many kitchens sit inside older brick and plaster houses, that last point deserves more attention than it usually gets.
Start With the Countertop, Then Let It Lead
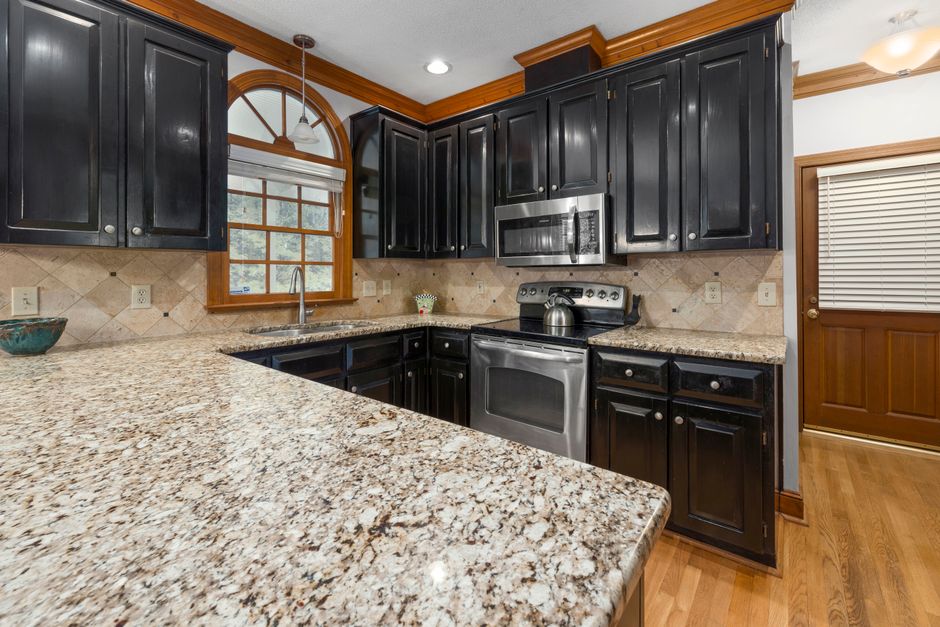
The countertop is the larger surface, the harder one to replace, and the one that should set the palette. Pick it first. Then take a real offcut or a large sample to the tile showroom instead of relying on a photo or a memory of the color. A small chip hides the veining, speckle and undertone that you will live with across several feet of counter.
Be wary of the idea that the backsplash has to be the same material or the exact same color. It does not. Some of the best kitchens pair a stone or engineered stone top with a tile that shares nothing with it but a quiet agreement of tone.
Let Only One Surface Be Busy
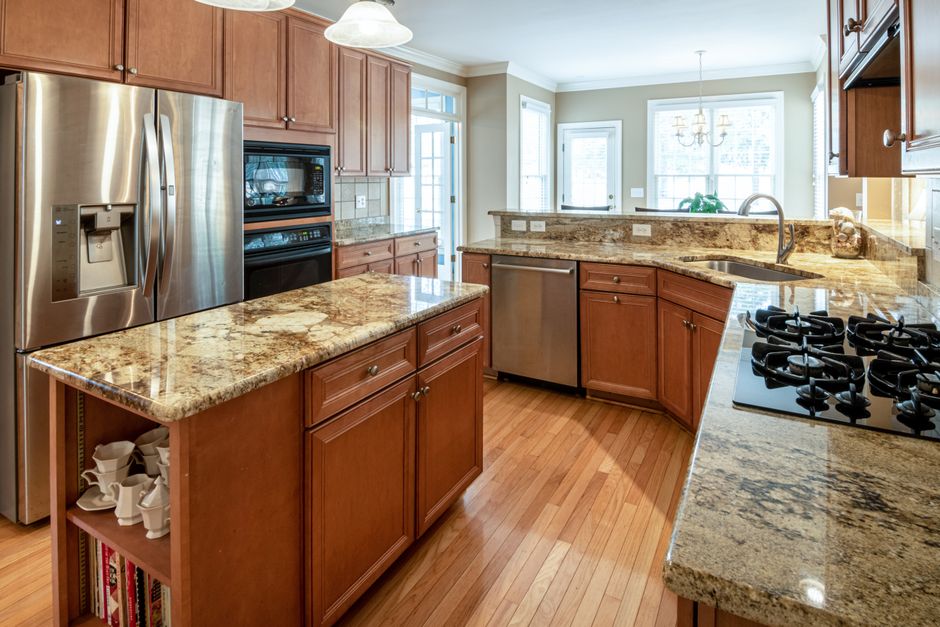
A kitchen reads as calm when one surface carries the pattern and the other steps back.
- Busy counter, quiet backsplash. Heavily veined granite, marble-look engineered stone, or a speckled slab pairs best with a plain tile in a single consistent color and finish.
- Quiet counter, expressive backsplash. A solid color engineered stone or solid surface top leaves room for pattern, texture or color on the wall.
If both surfaces compete, the eye has nowhere to rest, and the kitchen feels smaller than it is.
Borrow a Secondary Tone, Not the Main One
Trying to match the dominant background color of a countertop usually backfires. A tile that is nearly the same shade, but slightly off, looks like a mistake. Two moves look deliberate instead:
- Echo a secondary tone. Pull the tile color from a vein, a fleck or an undertone in the counter.
- Contrast clearly. Choose a tile that is plainly lighter, darker or different in hue.
Check undertones, not color names
Whites and grays lean warm (cream, beige) or cool (blue, true gray). A warm white tile beside a cool white quartz looks dingy, even though both are called white. Lay the samples side by side on the counter and compare them directly.
Judge Samples in Your Own Kitchen
Showroom lighting is not kitchen lighting. Window direction, bulb color temperature and under cabinet LED strips all shift how stone and tile read. Leave the samples propped against the wall at the counter for a day, and look at them in the morning and again in the evening with the lights on. A pairing that matches under showroom fluorescents can clash at home.
Choose the Material for the Job Behind It
The wall behind the range and sink takes the most abuse, so cleanability should drive the choice there.
Behind the range
- Engineered stone contains resin binders and can scorch or discolor under high direct heat. It is not heatproof. Behind a powerful range, keep proper clearance, check the maker's care guidance for your product, or use ceramic, porcelain or metal.
- Solid surface can be formed with an integral coved backsplash with no seam at the counter, which makes wiping easy. It is also heat sensitive, so it is a poor choice directly behind a cooktop.
- Polished marble and other soft stone etches from lemon, vinegar and tomato splatter, which matters most near the prep area and the stove.
- Heavily textured or handmade tile looks good but traps grease.
Around the sink
- Glass tile is nonporous and reflects light, but clear or translucent glass shows the adhesive behind it. Installers should use a white setting material made for glass and comb it carefully so trowel lines do not telegraph through. Cut edges need finishing or trim.
- Natural stone tile such as marble, travertine or limestone is porous and needs sealing, much like a stone countertop. Save the delicate and porous materials for walls that stay dry.
No stone, quartz or tile backsplash is maintenance free or stain proof. Smooth, nonporous surfaces with few grout lines simply clean fastest where splatter lands.
Treat Grout as a Design Decision
Matching the grout to the tile reads calm and lets the surface look continuous. Contrasting grout draws out the grid and the pattern, which suits a simple subway layout but can look busy next to a veined counter. Light cement grout behind the sink and range picks up stains. Stain resistant grout products, or sealing standard cement grout, make pale colors more practical, though sealed grout can still stain and needs periodic attention.
Decide on Height Early
The usual run is from the countertop to the underside of the upper cabinets. Behind the range, carry the backsplash up to the hood. Where a wall has no uppers, stop at a logical line: the window casing, the top of an adjacent cabinet or the ceiling. A tile that ends at a random height looks unfinished.
Skip the stub if you can
The traditional 4 inch splash cut from the countertop slab is fine on its own, but it is not required and is not always right. Tile stacked above a stub often looks dated and adds an extra joint. A cleaner approach is to leave the stub off and run tile, or slab, straight down to the counter.
Full height slab
A slab backsplash in the same material as the counter makes a seamless look, but it has to be planned with the fabricator before anything is cut. Vein direction, seam locations and outlet cutouts are all laid out on the slab. Ask whether the backsplash pieces will come from the same slab as the countertop, so the color and pattern carry through.
Check the Wall Before Committing to Rigid Material
Plaster walls in Old Louisville Victorians, Highlands and Crescent Hill houses, and the shotguns of Germantown and Schnitzelburg, are often out of plumb and out of flat. A full height slab will not sit tight against any wall, and old plaster is the hardest test of that.
Hold a 4 foot straightedge against the wall where the backsplash will go. Gaps behind it show up as trouble later: a stiff slab will not seat, and large format tile will show lippage, the small ridges where neighboring tiles sit at different heights.
- Large format tile means fewer grout lines and easier cleaning, but it demands a flatter wall.
- Small mosaics hide wall wobble but add a lot of grout to keep clean.
- Skim coating the wall flat first opens the door to larger pieces.
Sequence and Details That Prevent Regrets
Counter first, tile second
The fabricator templates after the kitchen cabinet boxes are set, and the tile goes on after the countertop is in place. Tiling first leaves gaps and uneven lines at the bottom edge.
Seal the joint with caulk, not grout
Where the backsplash meets the countertop, use a flexible, color matched silicone or caulk. The counter and the wall move independently, and a grouted joint there tends to crack and let water in behind the tile.
This matters most with wood. Butcher block swells and shrinks with Louisville's humid summers and dry, heated winters, and sealing does not stop that movement. Leave a flexible caulked joint, never butt rigid tile tight against the wood, and keep the area behind the sink well sealed.
Plan the ends and the outlets
Exposed tile edges need bullnose pieces, a finished edge or metal trim. The cleanest stopping points are cabinet sides, wall corners and window casings. A slab or thick tile layer can also recess outlet boxes, so have an electrician extend or reposition them. Some homeowners move outlets under the upper cabinets so the tile stays uninterrupted. Slab cutouts must be laid out before fabrication.
Order extra from one dye lot
Color varies between production lots, and matching later can be impossible. Buy enough from a single lot to cover cuts and breakage, plus a few spares for future repairs.
Leave the cutting to the fabricator
Cutting engineered stone releases fine crystalline silica dust (silicon dioxide), which causes silicosis. Backsplash pieces and outlet cutouts should be cut by the fabricator with wet cutting and dust control. Do not dry cut quartz in your kitchen with a grinder, and do not assume a man made stone is safe to cut at home.